
Eat right and work out, and you’ll get the body of your dreams. That’s the deal, right? Well, yes! But, the thing is, that body isn’t going to appear overnight; it takes a little time. Making workout progression pictures is one way to track your success and make sure you don’t get discouraged when improvement seems a little slow.
Whether you’re seeking Instagram-worthy pics or something just for you, we’ll talk you through how to take before and after photos that truly show your results.
How to take great before and after selfies – Top 5 tips
1. Keep it neutral
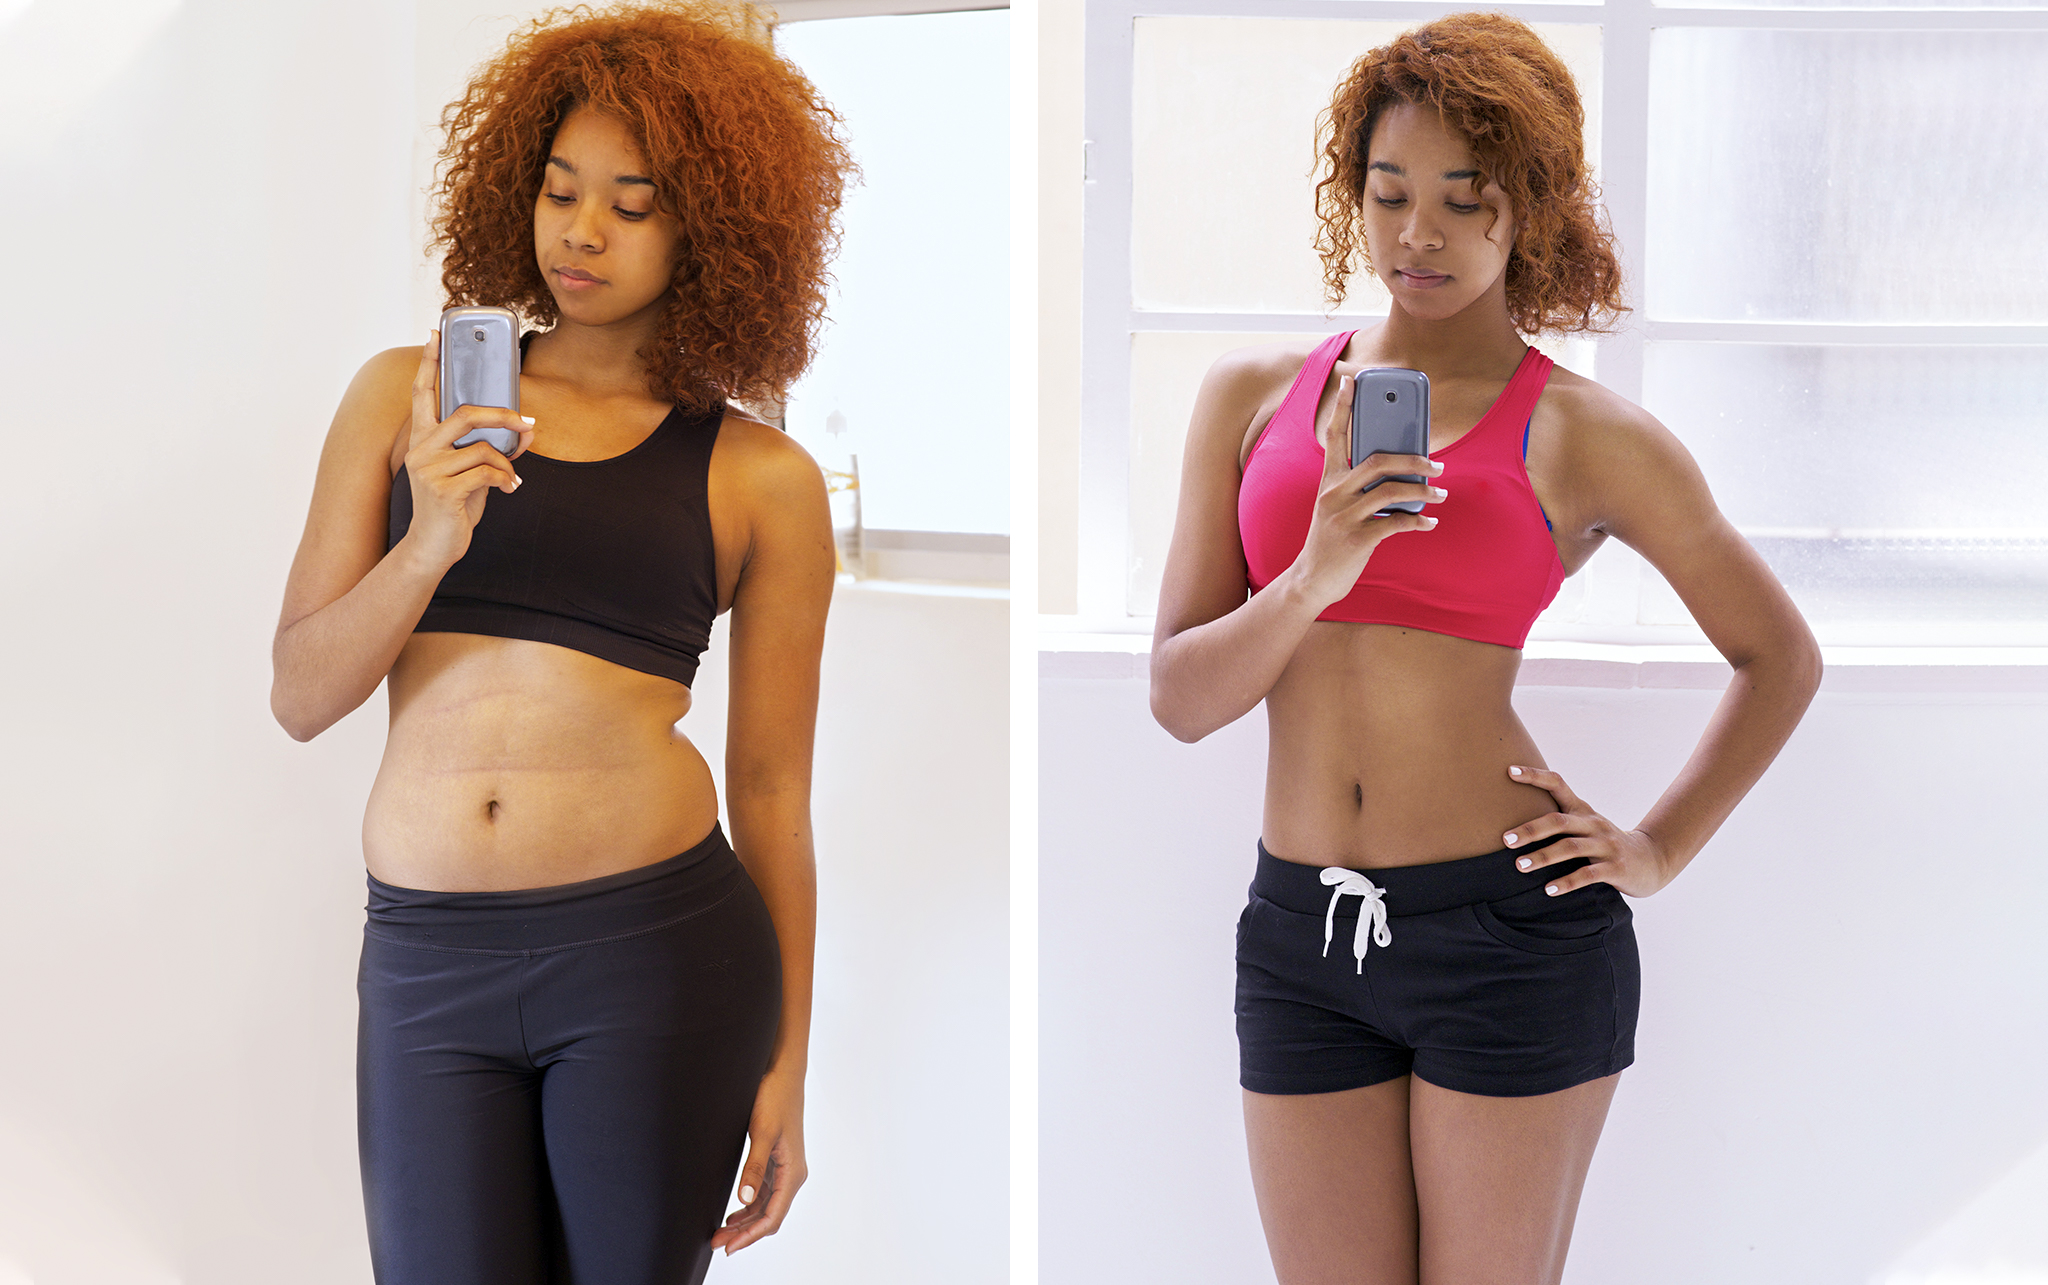
In photography, lighting is everything. Stark contrasting light can cause shadows, soft lighting tends to smooth the skin, while dim lighting just does you no favors at all.
So, when you make your workout progression pictures, choose a natural lighting source, such as daylight or soft studio lights, that neutrally show how your body looks.
These lighting conditions will give you a more accurate view of the progress you’ve made, and an amazing photo of your beautiful self.
2. Remove background distractions
Just as lighting can alter how you look, what you have in the background changes how effective your photo is at documenting your progress. Cluttered pictures take the focus away from what’s truly important––your body.
For the best fitness progress photos, chose an area to photograph without any distracting background objects. Aim for a blank wall, lightly colored with no patterns, so that when you shoot, the focus is on you, not the scenery.
3. Wear it well
No need for that LBD here; it’s time to reveal your workout prowess. With fitness progress photos, there are two absolutely essential things to do.
One. Keep it consistent. For progression pics, you want to focus on the success of your body goals, not your fashion choices. Be like Zuckerberg and take the choice factor out of the fashion picture by keeping the same outfit for each of your shots.
Point two. Even if it’s the same outfit each time, make sure that it truly shows off your body. Uncover those abs, go bare with your arms, and reveal those pins. You did the work; it’s time to see the results.
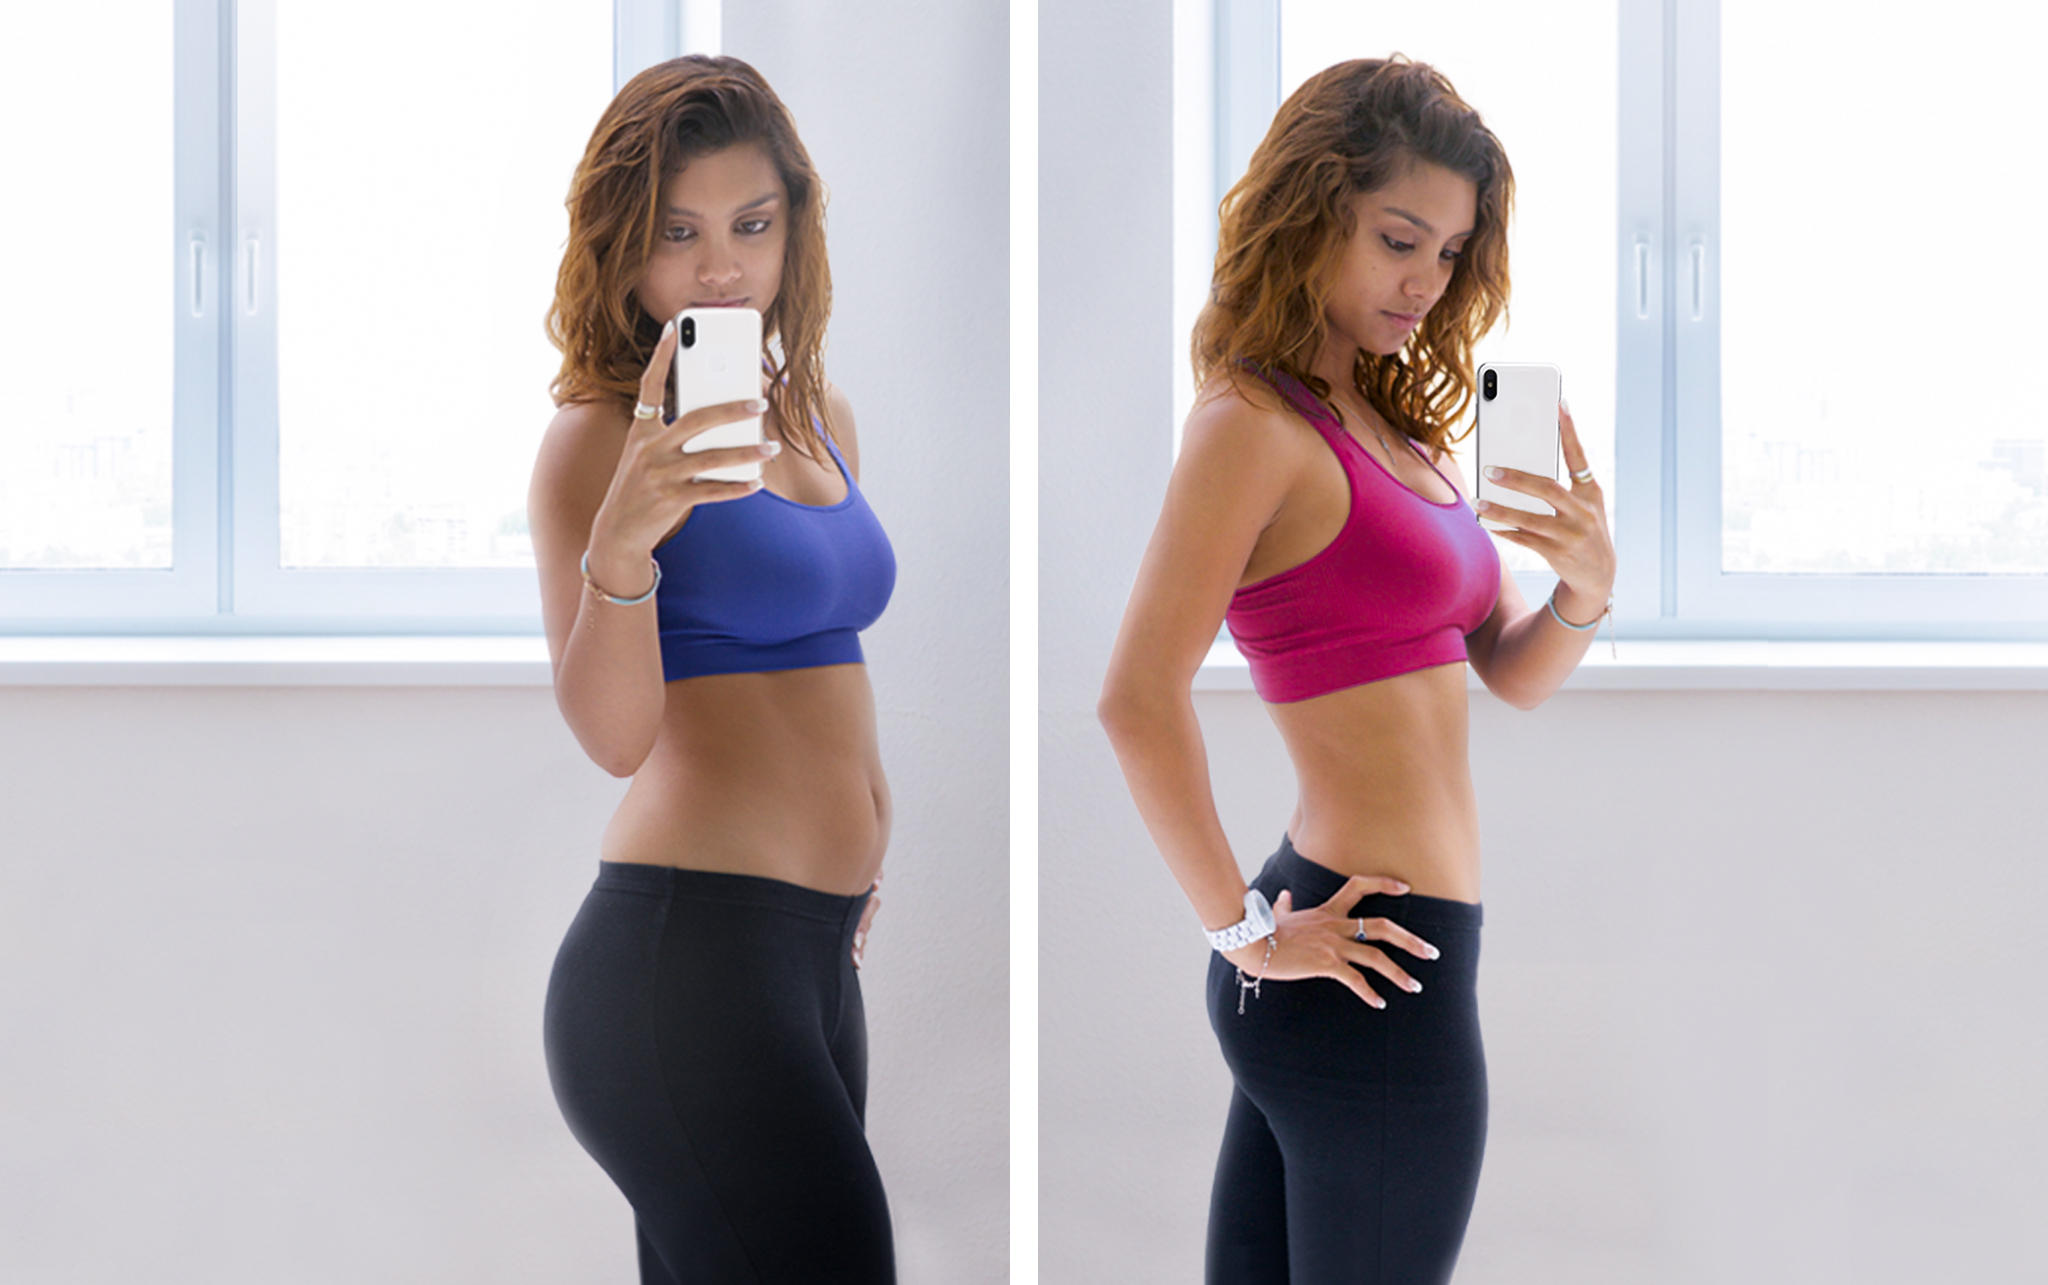
4. Strike a pose
That passport-style head and shoulders pose isn’t going to cut it, not that your face isn’t lovely, of course! But, the task at hand is to see the real progress of that body of yours, and that is why it’s time to strike a pose.
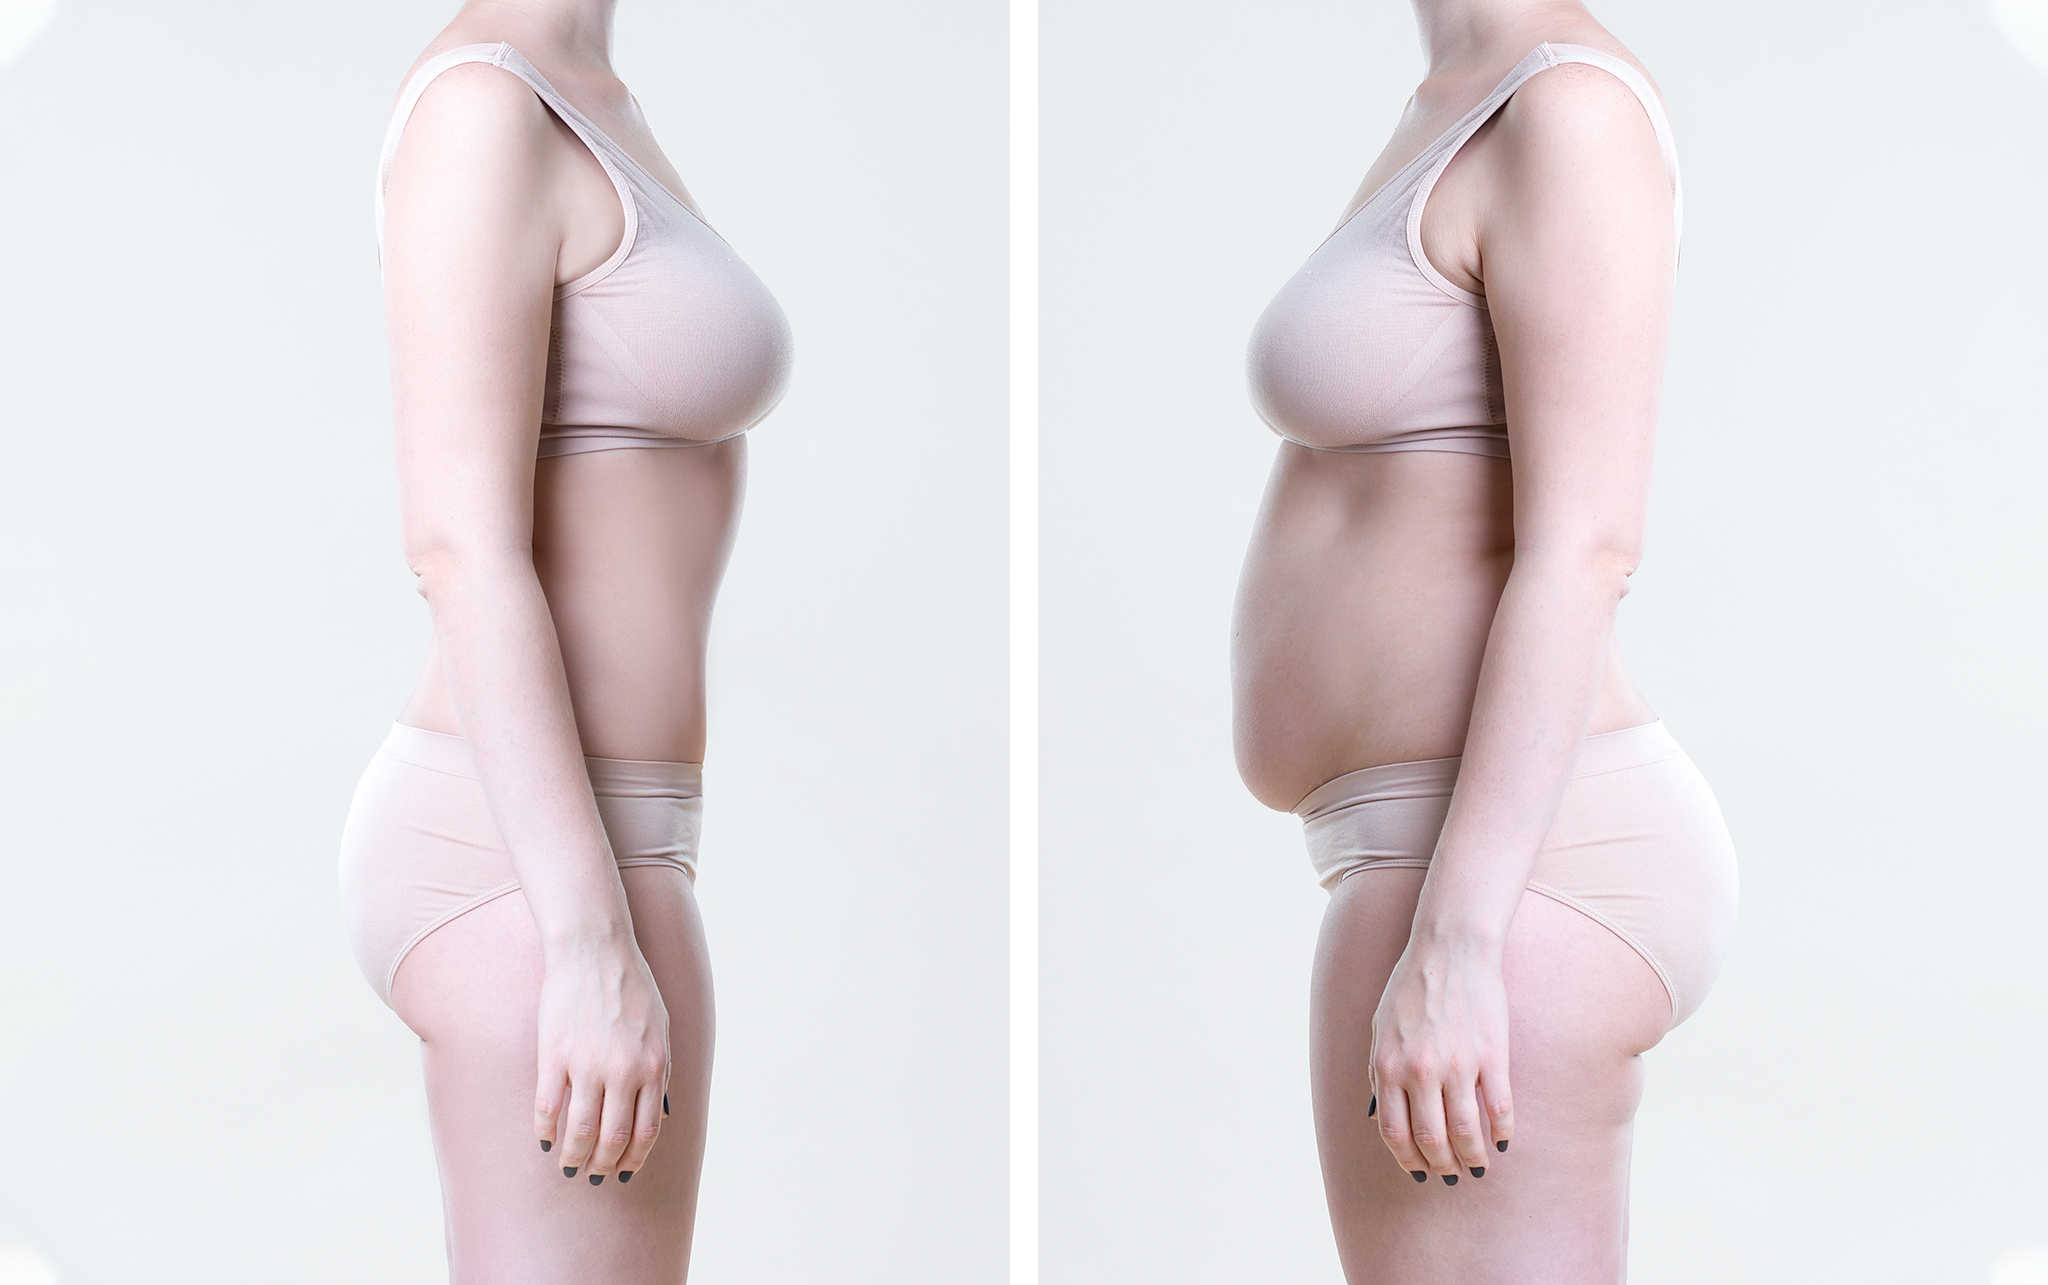
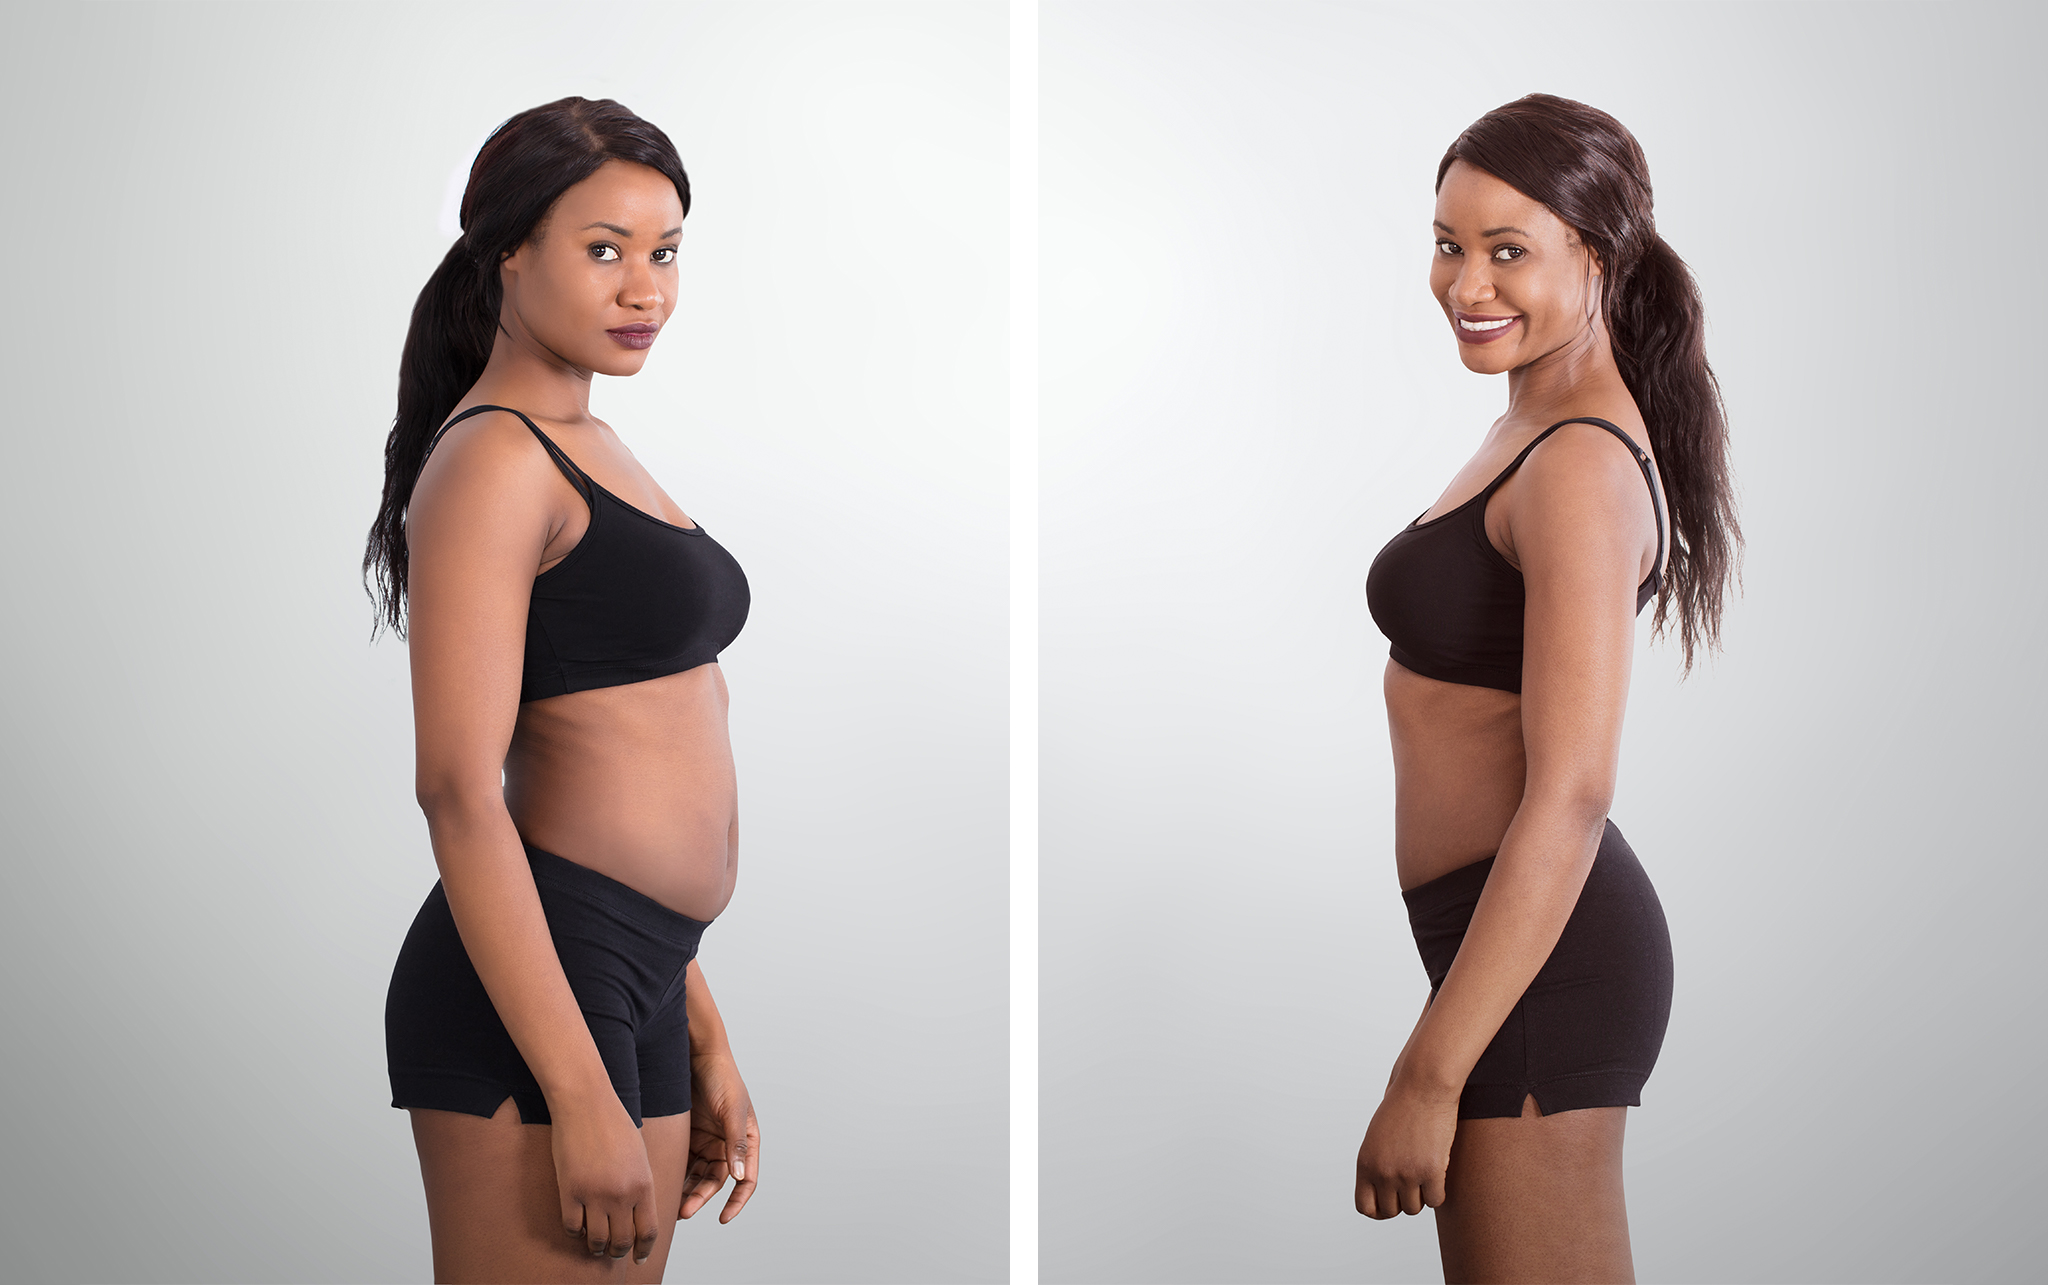
You’ll need three key positions to show off your fitness progress in pictures––front (a full-frontal view), back (your back––from your head to your heels), and side (get your side-profile in focus). This three-way approach gives you a fuller picture of your body from all angles.
To take the picture, stand back and position the camera using a tripod, or ask a willing victim (aka friend) for help to make sure you get your entire body in the shot––no macro close-ups for this one.
5. Consistency is key

Eating that one salad or taking that one Thai-boxing class may leave you feeling virtuous, and rightly it should, but we all know (as much as we’d like to believe otherwise) that a one-off isn’t going to have a massive impact on our looks.
But add that salad to a second one the following day, and start doing two to three classes a week, and you’ll soon see results.
The same goes for your progress photos. Change doesn’t happen overnight, which is precisely why you need to be consistent with taking pictures. Try to grab a snap once a week so you can note your wins, without obsessing.

